 Harriet Wetton
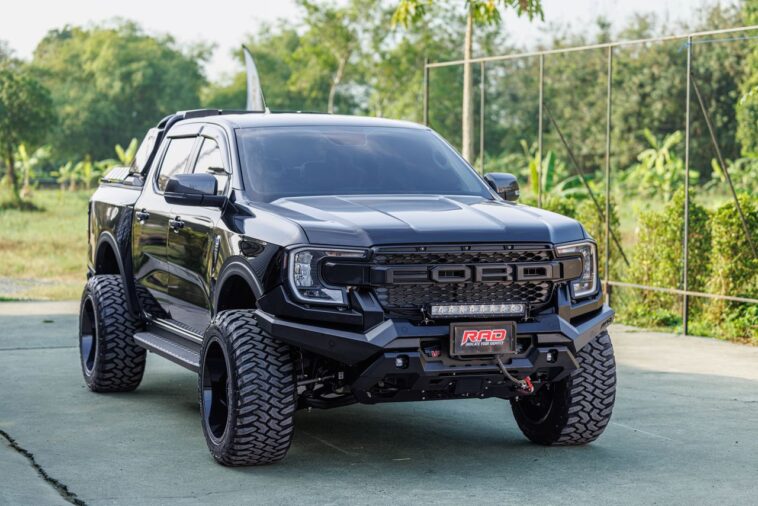
Lifting your own truck in your home driveway is one of the most rewarding mechanical projects you can take on. There is nothing quite like the feeling of finishing up a long afternoon of turning wrenches, lowering the jack, and standing back to see your truck sitting inches higher on aggressive off-road tires.
However, staring at a garage floor covered in floor jacks, jack stands, springs, and heavy steel brackets can make your stomach drop. If you are standing in your driveway right now wondering if you are about to mess up your main ride, take a deep breath.
This guide walks you through the entire job using clear, simple language. We will cover safety, gear setups, mechanical parts, and exact teardown steps so you can tackle a 2-inch leveling kit or a full suspension lift with total confidence.
What Actually Happens When You Lift a Truck?
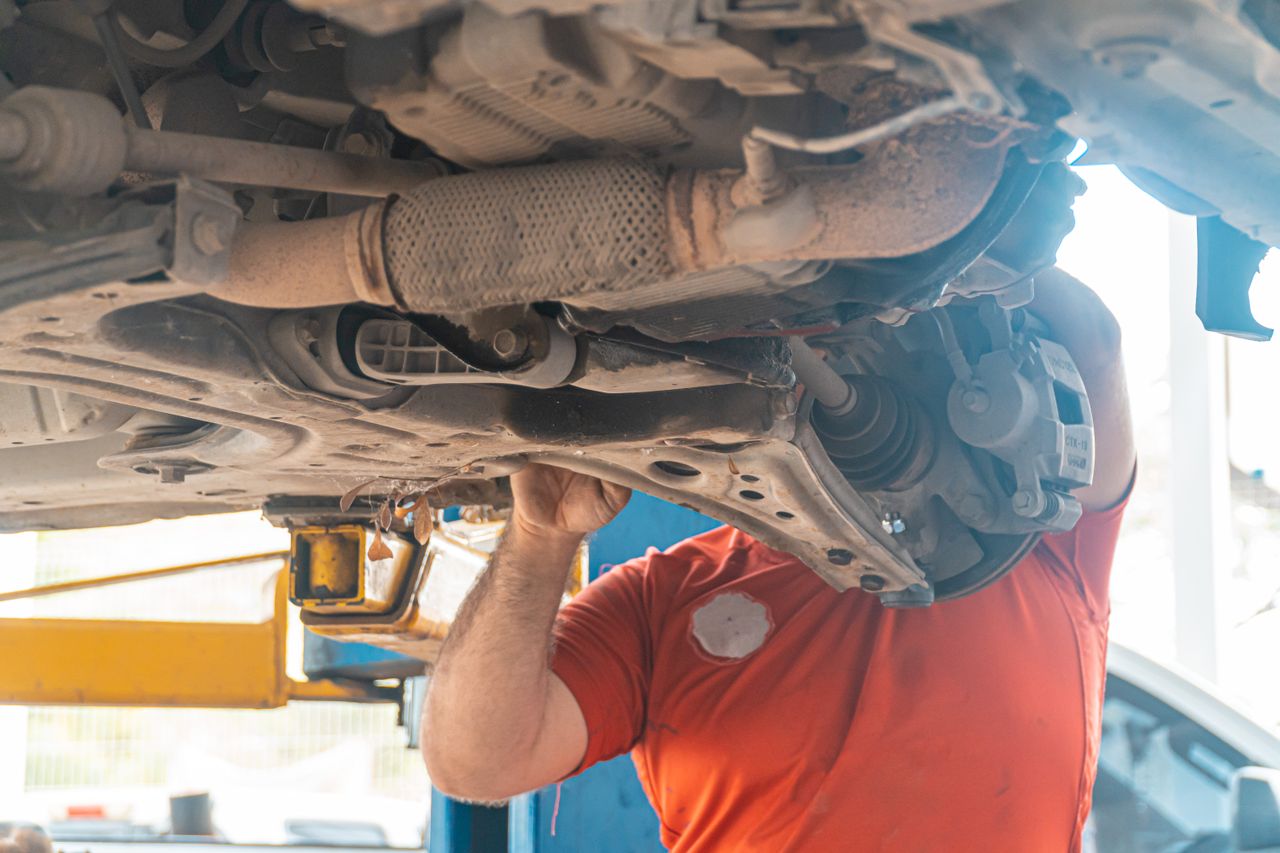
Before grabbing a wrench, it helps to understand what you are actually changing under the vehicle. A truck lift changes how high the truck frame and body sit above the ground and wheels.
People lift trucks for three main reasons: to fit larger off-road tires, to get more ground clearance over rocks and mud, or simply to give the truck a taller, more aggressive look.
Body Lifts vs. Suspension Lifts
Body Lift Kits A body lift uses heavy polyurethane or aluminum spacers placed between the truck frame and the cab or bed. This lifts the metal body higher off the frame without changing your springs or shocks.
It is budget-friendly, lets you fit bigger tires, and keeps your smooth factory ride quality. However, it does not give you any extra ground clearance under the frame or axles.
Suspension Lift Kits A suspension lift replaces or modifies your actual suspension parts, like coil springs, leaf springs, control arms, and shock absorbers. This physically lifts the frame, engine, and axles further off the ground.
You get maximum ground clearance and better wheel movement for rough trails, but it changes how your truck handles and requires careful steering adjustments.
Key Parts You Will Be Working On
-
Control Arms: These metal arms connect your wheel hubs to the frame. They allow your wheels to move up and down over bumps while keeping them straight.
-
Coil Springs and Leaf Springs: These hold up the weight of your truck. Front suspensions usually use tall coil springs, while rear suspensions use flat steel leaf spring packs sitting on the back axle.
-
Sway Bar: A thick metal bar that connects both sides of the suspension to keep the truck from leaning too far in sharp turns.
-
Driveshaft and Axles: The spinning rods that send power from your engine and transmission to your wheels. Raising the truck changes the working angle of these shafts.
Essential Tools, Equipment, and Safety Gear
Working under a heavy truck requires strict safety habits. Never rush the setup phase. Just like learning how to drive uphill in the snow, working on steep or lifted vehicle angles demands preparation, control, and respect for physics.
Required Tools
-
Heavy-duty hydraulic floor jack (rated for 3 tons or more)
-
Heavy-duty jack stands (rated for 4 to 6 tons with safety locking pins)
-
Heavy rubber wheel chocks
-
Complete mechanic socket and wrench set (standard and metric deep sockets)
-
24-inch breaker bar for loosening tight factory bolts
-
Torque wrench that reads up to 200 foot-pounds
-
Spring compressor tool (if you are rebuilding front strut assemblies)
-
Penetrating oil spray like PB Blaster or Liquid Wrench
-
Measuring tape
Safety Rules to Follow
-
Never step or reach under a vehicle supported only by a hydraulic jack. Always lower the frame onto solid jack stands before starting work.
-
Always work on a flat, level concrete driveway or garage floor. Never attempt this on asphalt, dirt, or gravel.
-
Put wheel chocks behind the tires on the opposite end of the truck you are lifting.
-
Wear safety glasses and mechanic gloves to protect yourself against dirt, rust, and sudden spring pressure.
How to Install Your Truck Lift Kit
This walkthrough covers a standard 3-inch suspension lift on a truck with independent front suspension and rear leaf springs, which is the most common layout on trucks like the Ford F-150, Chevy Silverado, Ram 1500, and Toyota Tundra.
Phase 1: Prep and Baseline Measurements
-
Spray every suspension bolt, U-bolt, and control arm nut with penetrating oil 24 to 48 hours before you start work. This softens up rust and stops rounded bolt heads.
-
Use your tape measure to check the distance from the center of each wheel hub straight up to the bottom edge of the fender. Write down all four numbers so you can check your total height increase later.
-
While the truck is sitting firmly on the ground, use your breaker bar to break the lug nuts loose by one full turn. Do not take them all the way off yet.
Phase 2: Raising and Securing the Vehicle
-
Place your floor jack under the main front frame crossmember.
-
Jack up the front of the truck until the tires lift 4 to 6 inches off the ground.
-
Place heavy-duty jack stands under the solid frame rails behind the front wheels. Slowly lower the jack until the frame rests firmly on the stands.
-
Remove the lug nuts completely and take off both front wheels.
Phase 3: Front Suspension Teardown
-
Unbolt the small brackets holding your rubber brake lines and ABS sensor wires so they do not get pulled tight or stretched.
-
Unbolt the sway bar drop links from the lower control arms.
-
Remove the cotter pin and castle nut from the outer tie rod end. Tap the side of the steering knuckle with a heavy hammer until the tapered bolt pops loose.
-
Support the lower control arm with your floor jack to hold the spring tension. Unbolt the upper ball joint from the top of the steering knuckle.
-
Unbolt the top three nuts on the strut tower inside the engine bay, then remove the bottom mounting bolts. Carefully lower the factory strut out of the wheel well.
Phase 4: Installing New Front Lift Parts
-
Bolt your new strut spacer onto the top of your factory strut, or assemble your new lifted coil over strut according to the instructions in your kit.
-
If your kit came with upgraded upper control arms, unbolt the factory arms and swap in the new ones now. These help keep your alignment angles correct.
-
Lift the new strut assembly up into the frame tower. Thread the top nuts on by hand to hold it, then bolt the bottom of the strut to the lower control arm.
-
Jack up the lower control arm slightly to compress the suspension. Slide the upper ball joint back into the steering knuckle, tighten the nut to factory specs, and put in a fresh cotter pin.
-
Reconnect your tie rod ends, sway bar links, and brake line brackets.
Phase 5: Rear Suspension Installation
-
Move your wheel chocks to the front tires. Jack up the rear axle housing and set your jack stands under the main frame rails in front of the rear wheels.
-
Keep your floor jack directly under the center rear differential to hold the weight of the axle.
-
Unbolt and remove the old rear shock absorbers.
-
Loosen the four nuts holding the factory U-bolts over the rear leaf springs. Remove the U-bolts and top plate.
-
Lower the rear axle slightly using your floor jack. Place your new lift block between the axle perch and the leaf spring pack. Make sure the tapered thin end of the block faces toward the front of the truck to keep your driveshaft angle straight.
-
Raise the axle back up against the leaf springs. Install your new, longer U-bolts and tighten the nuts down evenly in a cross pattern. Bolt in your new extended rear shocks.
Phase 6: Final Tightening and Setting the Weight
-
Put the wheels back on and hand-tighten the lug nuts in a star pattern.
-
Lift the truck off the jack stands, remove the stands, and lower the truck all the way to the ground.
-
With the full weight of the truck resting on its tires, use your torque wrench to tighten all control arm pivot bolts, leaf spring bolts, and lug nuts to factory torque specifications. Tightening control arms while the truck is on the ground prevents rubber bushings from twisting and cracking early.
A Quick Real-Life Example
Consider Marcus, who decided to install a 3-inch suspension lift on his 2018 Ford F-150 in his home driveway over the weekend.
Marcus started early on Saturday morning by organizing his tools and spraying all rust-prone bolts with penetrating oil. By working methodically, completing the front driver side first, moving to the front passenger side, and finishing with the rear axle, he finished the entire mechanical job in about eight hours.
Doing the work himself saved Marcus over $800 in shop labor costs while giving him a complete understanding of how his truck’s suspension works under the hood.
Common DIY Mistakes to Avoid
-
Skipping the Wheel Alignment: Driving a freshly lifted truck without a professional wheel alignment will wear out a new set of tires in under 1,000 miles due to bad toe and camber angles.
-
Stretching Brake Lines: Always double-check brake lines and ABS wires when dropping the suspension. Stretched lines can snap or leak under heavy suspension movement.
-
Tightening Suspension Arms in the Air: Torquing control arm bolts while the wheels are hanging in the air locks rubber bushings into an unnatural position. When you lower the truck, those bushings stay twisted, causing clunks and premature wear.
-
Using Backward Lift Blocks: Installing flat or backward rear lift blocks ruins your rear differential angle, leading to high-speed driveline vibrations.
-
Reusing Old U-Bolts: U-bolts stretch when torqued down. Reusing old U-bolts on a new lift setup can cause hardware failure and axle shift. Always install fresh hardware.
Advanced Upgrades to Think About
If you plan to run much larger tires or go hard on off-road trails, keep these extra steps in mind:
-
Fixing Steering Geometry: On solid axle trucks, lifting the frame changes the angle of your steering drag link and track bar. Installing a dropped pitman arm or track bar drop bracket keeps these bars parallel and prevents “bump steer,” where hitting a bump yanks the steering wheel.
-
Re-Gearing Your Differentials: Swapping from stock tires to 35-inch or 37-inch tires makes your engine work harder, causing sluggish acceleration and poor gas mileage. Changing your front and rear differential gears to a higher numerical ratio (like moving from 3.55 to 4.10 gears) restores your factory pulling power and shift points.
-
Safe Waste Disposal: When working on your truck, you may need to drain old gas or fluids. Knowing how to dispose of old gasoline properly keeps your workshop clean and protects your local community environment.
When to Bring in a Professional Mechanic
While installing a standard 2 to 4-inch lift kit is a great home project, some jobs require professional shop equipment:
-
Your lift kit requires cutting main frame crossmembers or welding differential brackets (common on big 6-inch lift kits).
-
You do not have heavy-duty jacks rated to support large diesel trucks safely.
-
You encounter rusted, seized control arm bolts that require an oxy-acetylene torch to cut free.
-
Your truck features modern electronic adaptive suspension systems that require factory software resets.
If you ever need legal assistance following a road incident in a modified vehicle, consulting a qualified specialist like an Atlanta car accident lawyer can help protect your rights after an unexpected crash.
Future Trends in Truck Lifts
The truck world is changing fast alongside modern auto technology. Automotive consumer safety standards enforced by agencies like the National Highway Traffic Safety Administration (NHTSA) focus heavily on vehicle rollover resistance and advanced safety sensor accuracy. Newer lift kits are engineered to comply with these guidelines while working smoothly with factory electronic shocks and active suspension modes without throwing dashboard error codes.
Additionally, because new trucks use forward-facing safety cameras and radar systems for automatic braking and lane keeping, modern lift installation often includes simple recalibration steps to ensure safety sensors stay accurately aimed after raising your ride height.
Frequently Asked Questions
Will lifting my truck void my factory warranty?
Installing a lift kit does not automatically void your entire vehicle warranty. Under federal consumer protection laws enforced by the Federal Trade Commission (FTC), specifically the Magnuson-Moss Warranty Act, a dealer can only deny warranty coverage on a failed part if they can prove your aftermarket lift kit directly caused that specific failure.
How much money do I save lifting a truck myself?
A standard DIY suspension lift kit costs between $400 and $1,500 for parts. Professional installation labor usually adds another $800 to $2,000 at a shop. Handling the installation yourself saves you over $1,000 in labor fees.
Do I need a wheel alignment right away?
Yes. Lifting changes your steering alignment angles immediately. Driving without a professional wheel alignment leads to unsafe steering pull and rapid tire wear.
How tall can I lift my truck on factory control arms?
Most modern trucks can handle up to a 2 or 2.5-inch lift on stock upper control arms. Any lift taller than 2.5 inches pushes factory ball joints past their safe working angles, making aftermarket control arms necessary.
Does a lift kit lower towing capacity?
While a lift kit does not change your truck’s official towing rating, higher suspension flex, softer spring rates, and taller hitch heights make heavy trailers feel less stable. Adding rear air helper springs or upgraded rear shocks restores towing stability.
Conclusion
Lifting your truck yourself takes patience and work, but it is one of the most satisfying upgrades you can make. Maintaining your vehicle yourself fits into a broader approach to self-reliance, much like establishing a healthy daily routine or taking on other home DIY tasks like regular roof maintenance.
By taking accurate baseline measurements, setting up solid jack stands, working carefully step-by-step, and torquing every bolt while the truck rests on the ground, you can achieve professional results right in your driveway.
Once your last bolt is tightened, drive over to your local tire shop for a quick wheel alignment, adjust your headlights down so you do not blind other drivers, and enjoy your new ride height!