
 Harriet Wetton
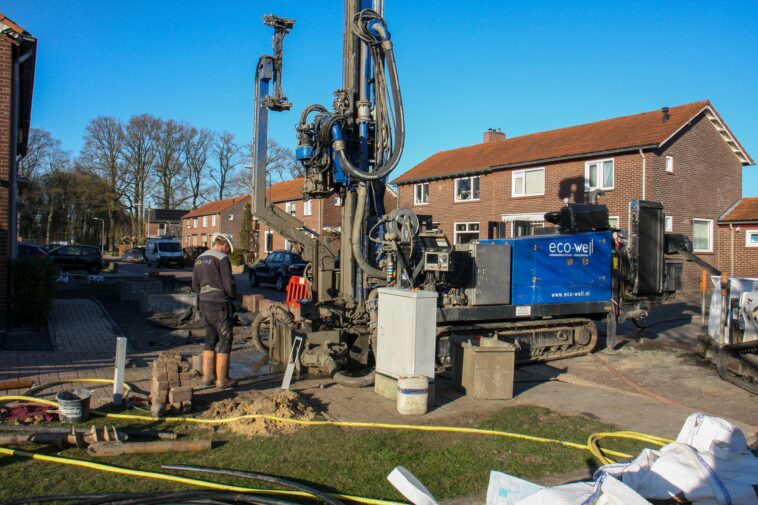
Starting a water well project can feel overwhelming. Many homeowners want independence from city water bills or need a reliable supply for a new property, but the big question always stops them: How much does it cost to drill a water well?
When you start researching, the numbers seem to jump all over the place. One neighbor tells you they paid $5,000, while another claims their well cost $18,000. That massive gap creates confusion, stress, and fear of unexpected expenses.
The truth is simple: well drilling is not a one-size-fits-all service. The total price tag depends on what lies beneath your ground, the depth required to reach clean water, local permits, and the equipment needed to pump that water straight into your taps.
This comprehensive guide breaks down every single factor behind water well drilling costs. By the end of this article, you will understand how pricing works, what hidden fees to look out for, and how to plan your project with total confidence.
The Core Basics: How Much Does Water Well Drilling Cost on Average?
Before diving into complex details, let me give you the direct baseline.
On average, drilling a water well costs between $3,750 and $15,300 for a complete, fully functional setup. Most homeowners end up spending right around $5,500 to $9,000 for a standard residential well.
Average Well Drilling Cost Summary
-
Basic Drilling Only: $15 to $60 per foot
-
Complete System Installation: $3,750 to $15,300 total
-
National Average Spent: $7,000 to $9,000 total
When professionals break down costs, they usually charge by the foot. Basic drilling usually runs between $15 and $60 per foot, depending on soil conditions and location.
However, drilling the hole is only one part of the equation. A complete system includes several key components:
-
Drilling the shaft (the actual hole in the ground)
-
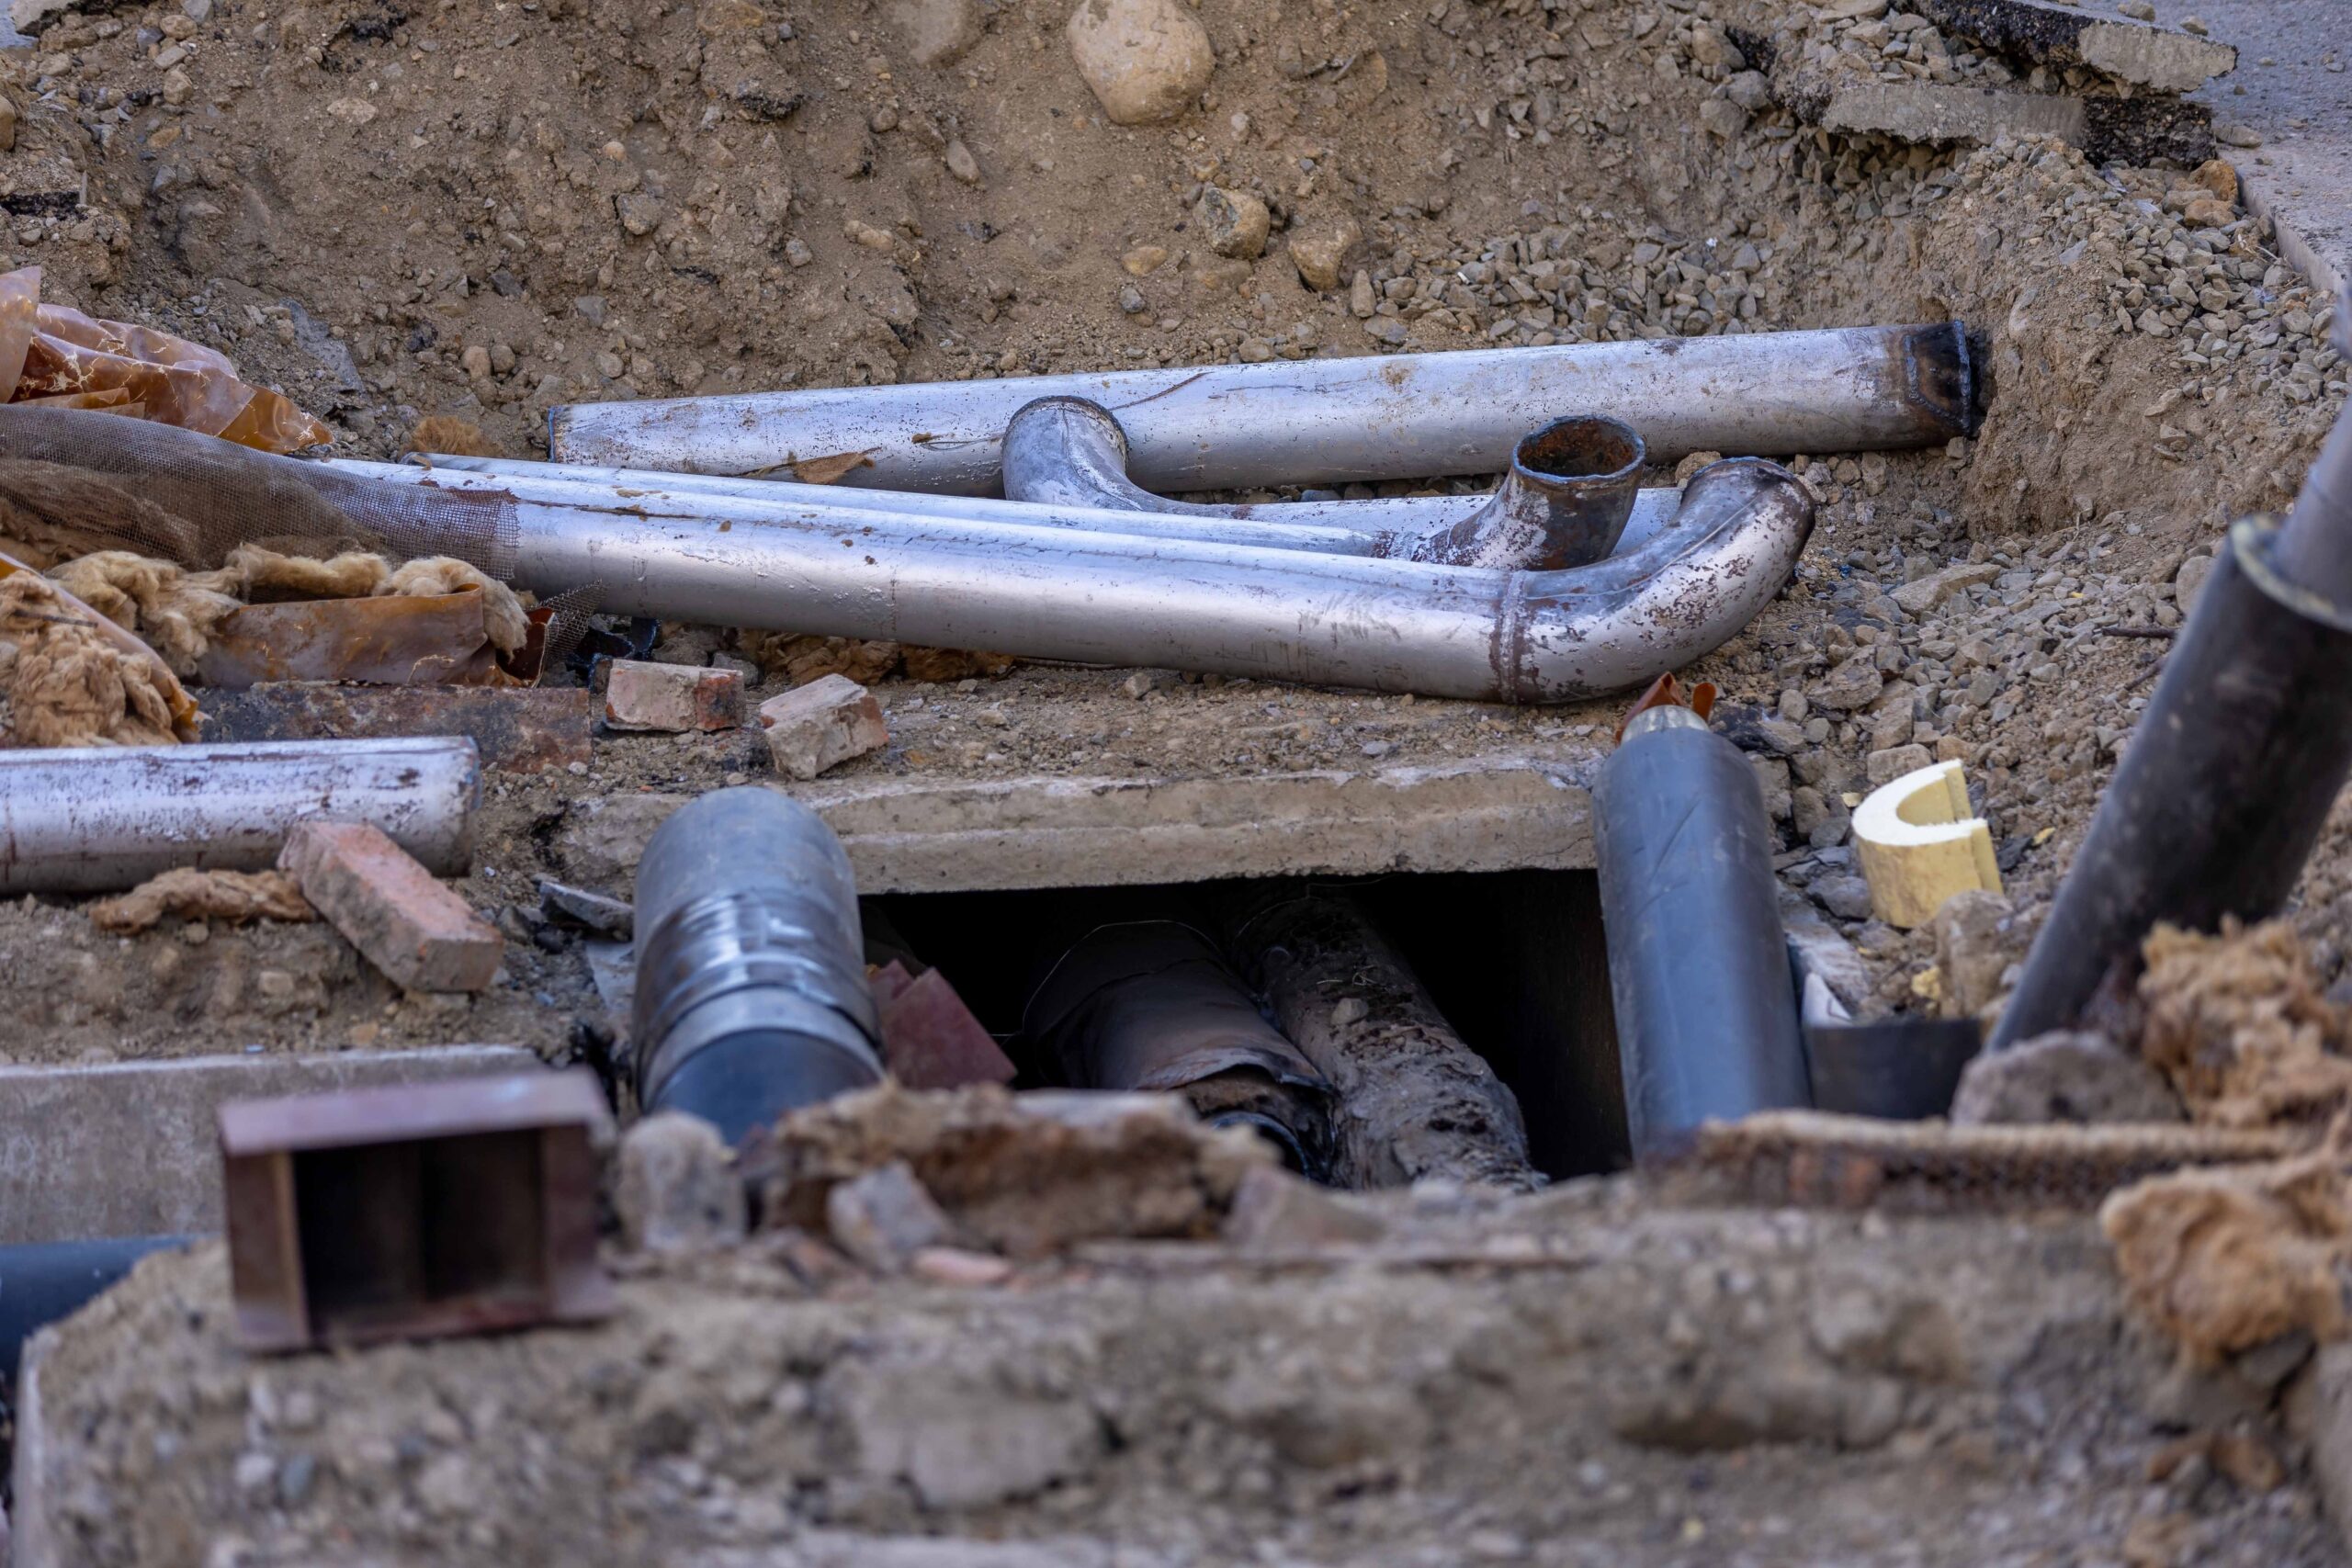
Well casing (the pipe that keeps the hole open)
-
Submersible pump (to push water up to your home)
-
Pressure tank (to keep water flowing evenly through your pipes)
-
Electrical wiring and control box
-
Permits and water quality testing
If you are budgeting for a brand-new well, always look at the complete installed price rather than just the per-foot drilling rate. Otherwise, you might face a budget surprise halfway through the job. For deeper industry insights on pricing trends, you can explore detailed resources like EPP Well Solutions.
Key Factors That Impact the Cost to Drill a Water Well
Why do prices vary so much from one property to another? Let us examine the main drivers that shape your final invoice.
Key Factors Shaping Your Total Cost
-
1. Depth: More feet equal a higher total price.
-
2. Geology: Harder rock requires specialized equipment, leading to higher costs per foot.
-
3. Equipment: Larger pumps and higher-capacity pressure tanks add to the hardware expenses.
1. Depth of the Well
Depth is the single largest cost factor. Clean water tables sit at different levels depending on your local geography.
-
Shallow Wells (25 to 50 feet deep): Often used for irrigation or small cabins. They cost much less to drill, usually ranging from $1,800 to $3,000.
-
Standard Residential Wells (100 to 300 feet deep): Common for most single-family homes. Total project costs range from $5,500 to $12,000.
-
Deep Wells (400 to 500+ feet deep): Necessary in dry regions or rocky mountain areas. These specialized setups can run anywhere from $12,000 to $25,000+.
2. Ground and Geology Conditions
What lies beneath your topsoil dictates the type of drilling rig required:
-
Sand, Clay, and Soft Soil: Fast and cheap to drill through. Standard equipment handles this easily.
-
Hard Rock and Granite: Requires heavy air-rotary rigs or diamond-tipped bits. Drilling speed slows down significantly, which increases labor costs per foot.
-
Boulders and Gravel: Loose, shifting rock layers can cause cave-ins during drilling, requiring extra protective casings that increase material costs.
3. Well Casing Material and Diameter
The casing lines the inside of your drilled hole to prevent collapse and stop dirty surface runoff from entering your supply. The material you choose impacts both longevity and price:
-
PVC Casing: Cheaper, rust-proof, and suitable for shallow or medium-depth wells in soft soil. Cost: $6 to $12 per foot.
-
Steel Casing: Essential for deep wells or hard rock conditions where structural strength is required. Cost: $18 to $35 per foot.
4. Pumping System and Pressure Tank
Once the hole is drilled, you need a way to move water into your house.
-
Jet Pumps: Mounted above ground. Great for shallow wells under 25 feet. Cost: $400 to $900.
-
Submersible Pumps: Lowered deep into the well water. Essential for deep wells. They are highly efficient and reliable. Cost: $1,000 to $2,500 depending on horsepower.
-
Pressure Tank: Installed inside your home or utility closet to maintain constant pressure. Cost: $400 to $1,200.
Step-by-Step: How a Water Well Is Installed
Understanding the step-by-step process helps you see exactly where your money goes. Here is how professional drillers turn raw land into a clean water source:
Contractors evaluate property boundaries, local setback rules (away from septic systems and power lines), and secure all required government permits.
Heavy machinery is positioned on site to drill through soil and rock until reaching a viable underground water source with sufficient flow rate.
Steel or PVC casing pipes are lowered into the borehole to prevent collapse, with a specialized screen at the bottom to filter out sediment.
Concrete or bentonite clay grout is poured into the annular space around the casing to block dirty surface runoff from entering the water supply.
A submersible pump is lowered into the well, wired for power, and connected to the underground line running into the home’s pressure tank.
The entire system is flushed, sanitized with chlorine, and laboratory-tested for potability and flow capacity before daily use.
Step 1: Site Inspection and Permits
Before any machinery arrives, the driller inspects your property to pick a clean, accessible spot. They check distance requirements from septic tanks, property lines, and power lines. Local government permits are secured during this stage.
Step 2: Drilling the Hole
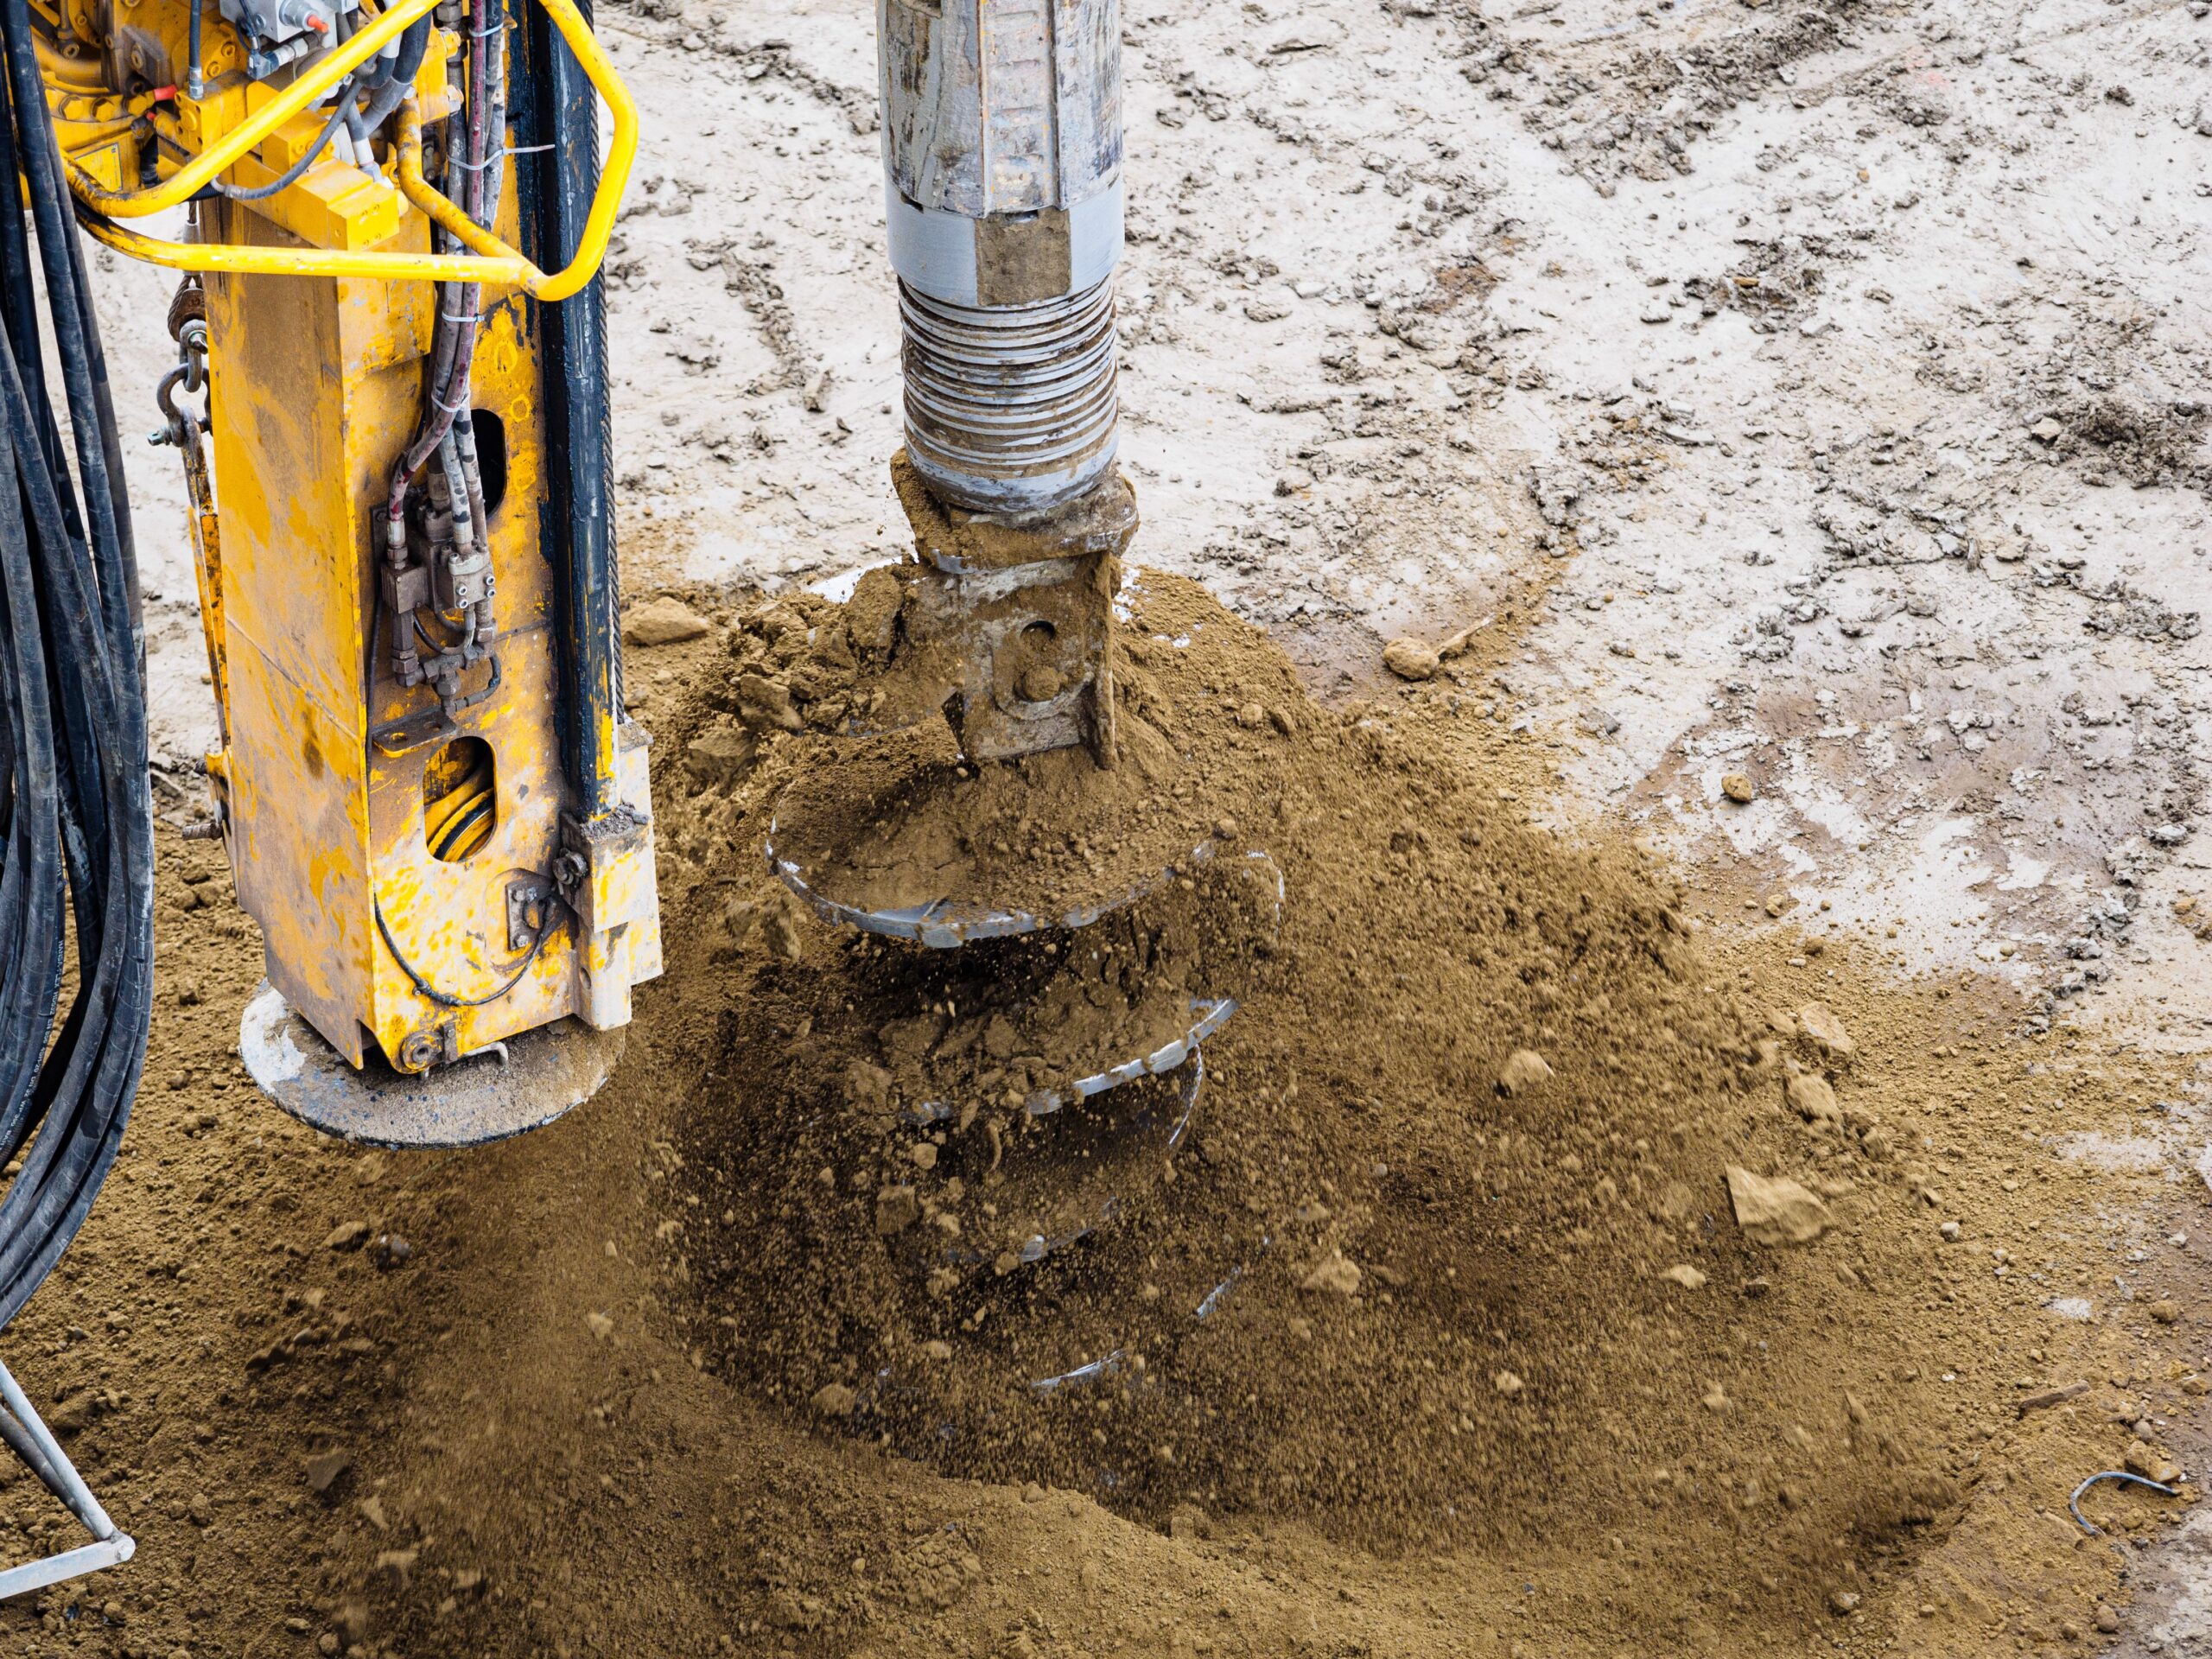
The drilling crew drives a massive rig onto your land. Using specialized rotation and air pressure, the drill breaks through soil and rock until it reaches an underground aquifer with sufficient water flow (gallons per minute).
Step 3: Setting Casing and Screen
Once water is hit, heavy casing pipes are dropped into the hole. At the very bottom, a slotted screen is installed to let clean water in while keeping sand and sediment out.
Step 4: Adding the Grout Seal
To keep surface contaminants like dirt, fertilizer, and rainwater out of your water supply, drillers pour concrete or bentonite clay grout into the gap around the top of the casing.
Step 5: Lowering the Pump and Connecting Power
A submersible pump attached to heavy-duty electrical wire and a water delivery pipe is lowered to the optimal water depth. The pipe runs underground to your home’s pressure tank and electrical panel.
Step 6: Testing and Disinfection
The crew flushes the well, treats it with chlorine to sanitize the system, and tests the water flow rate alongside potability (safety) lab tests.
Real-Life Cost Example: A Typical Homeowner Experience
To see how these costs come together in real life, let us look at a standard installation scenario.
Meet Sarah and Mark
Sarah and Mark bought a 2-acre plot in a rural area without access to municipal water. They needed a complete well system for their brand-new 3-bedroom home.
| Expense Item | Cost |
| Permits & Local Administrative Fees | $450 |
| Drilling (200 feet @ $28/ft) | $5,600 |
| Steel Casing (100 ft in top layer) | $2,200 |
| 1.5 HP Submersible Pump & Wiring | $1,850 |
| 80-Gallon Pressure Tank & Controls | $1,100 |
| Excavation & Pipe Trenching to House | $850 |
| Lab Water Testing | $250 |
| TOTAL OUT-OF-POCKET COST | $12,300 |
Because their site had solid ground and a deep water table at 200 feet, they needed a mid-range horsepower pump and 100 feet of steel casing near the top layer for stability. Their final price of $12,300 covered a complete, end-to-end system that delivered high-quality water right to their taps.
Hidden Costs and Common Budget Mistakes to Avoid
Unexpected fees can derail any home improvement project. When budgeting for well drilling, watch out for these easily overlooked costs:
1. Electrical Service Upgrades
If your current electrical panel lacks space or capacity for a 240V well pump circuit, an electrician must upgrade your system. This can add $1,000 to $2,500 to your project.
2. Water Filtration and Softening Systems
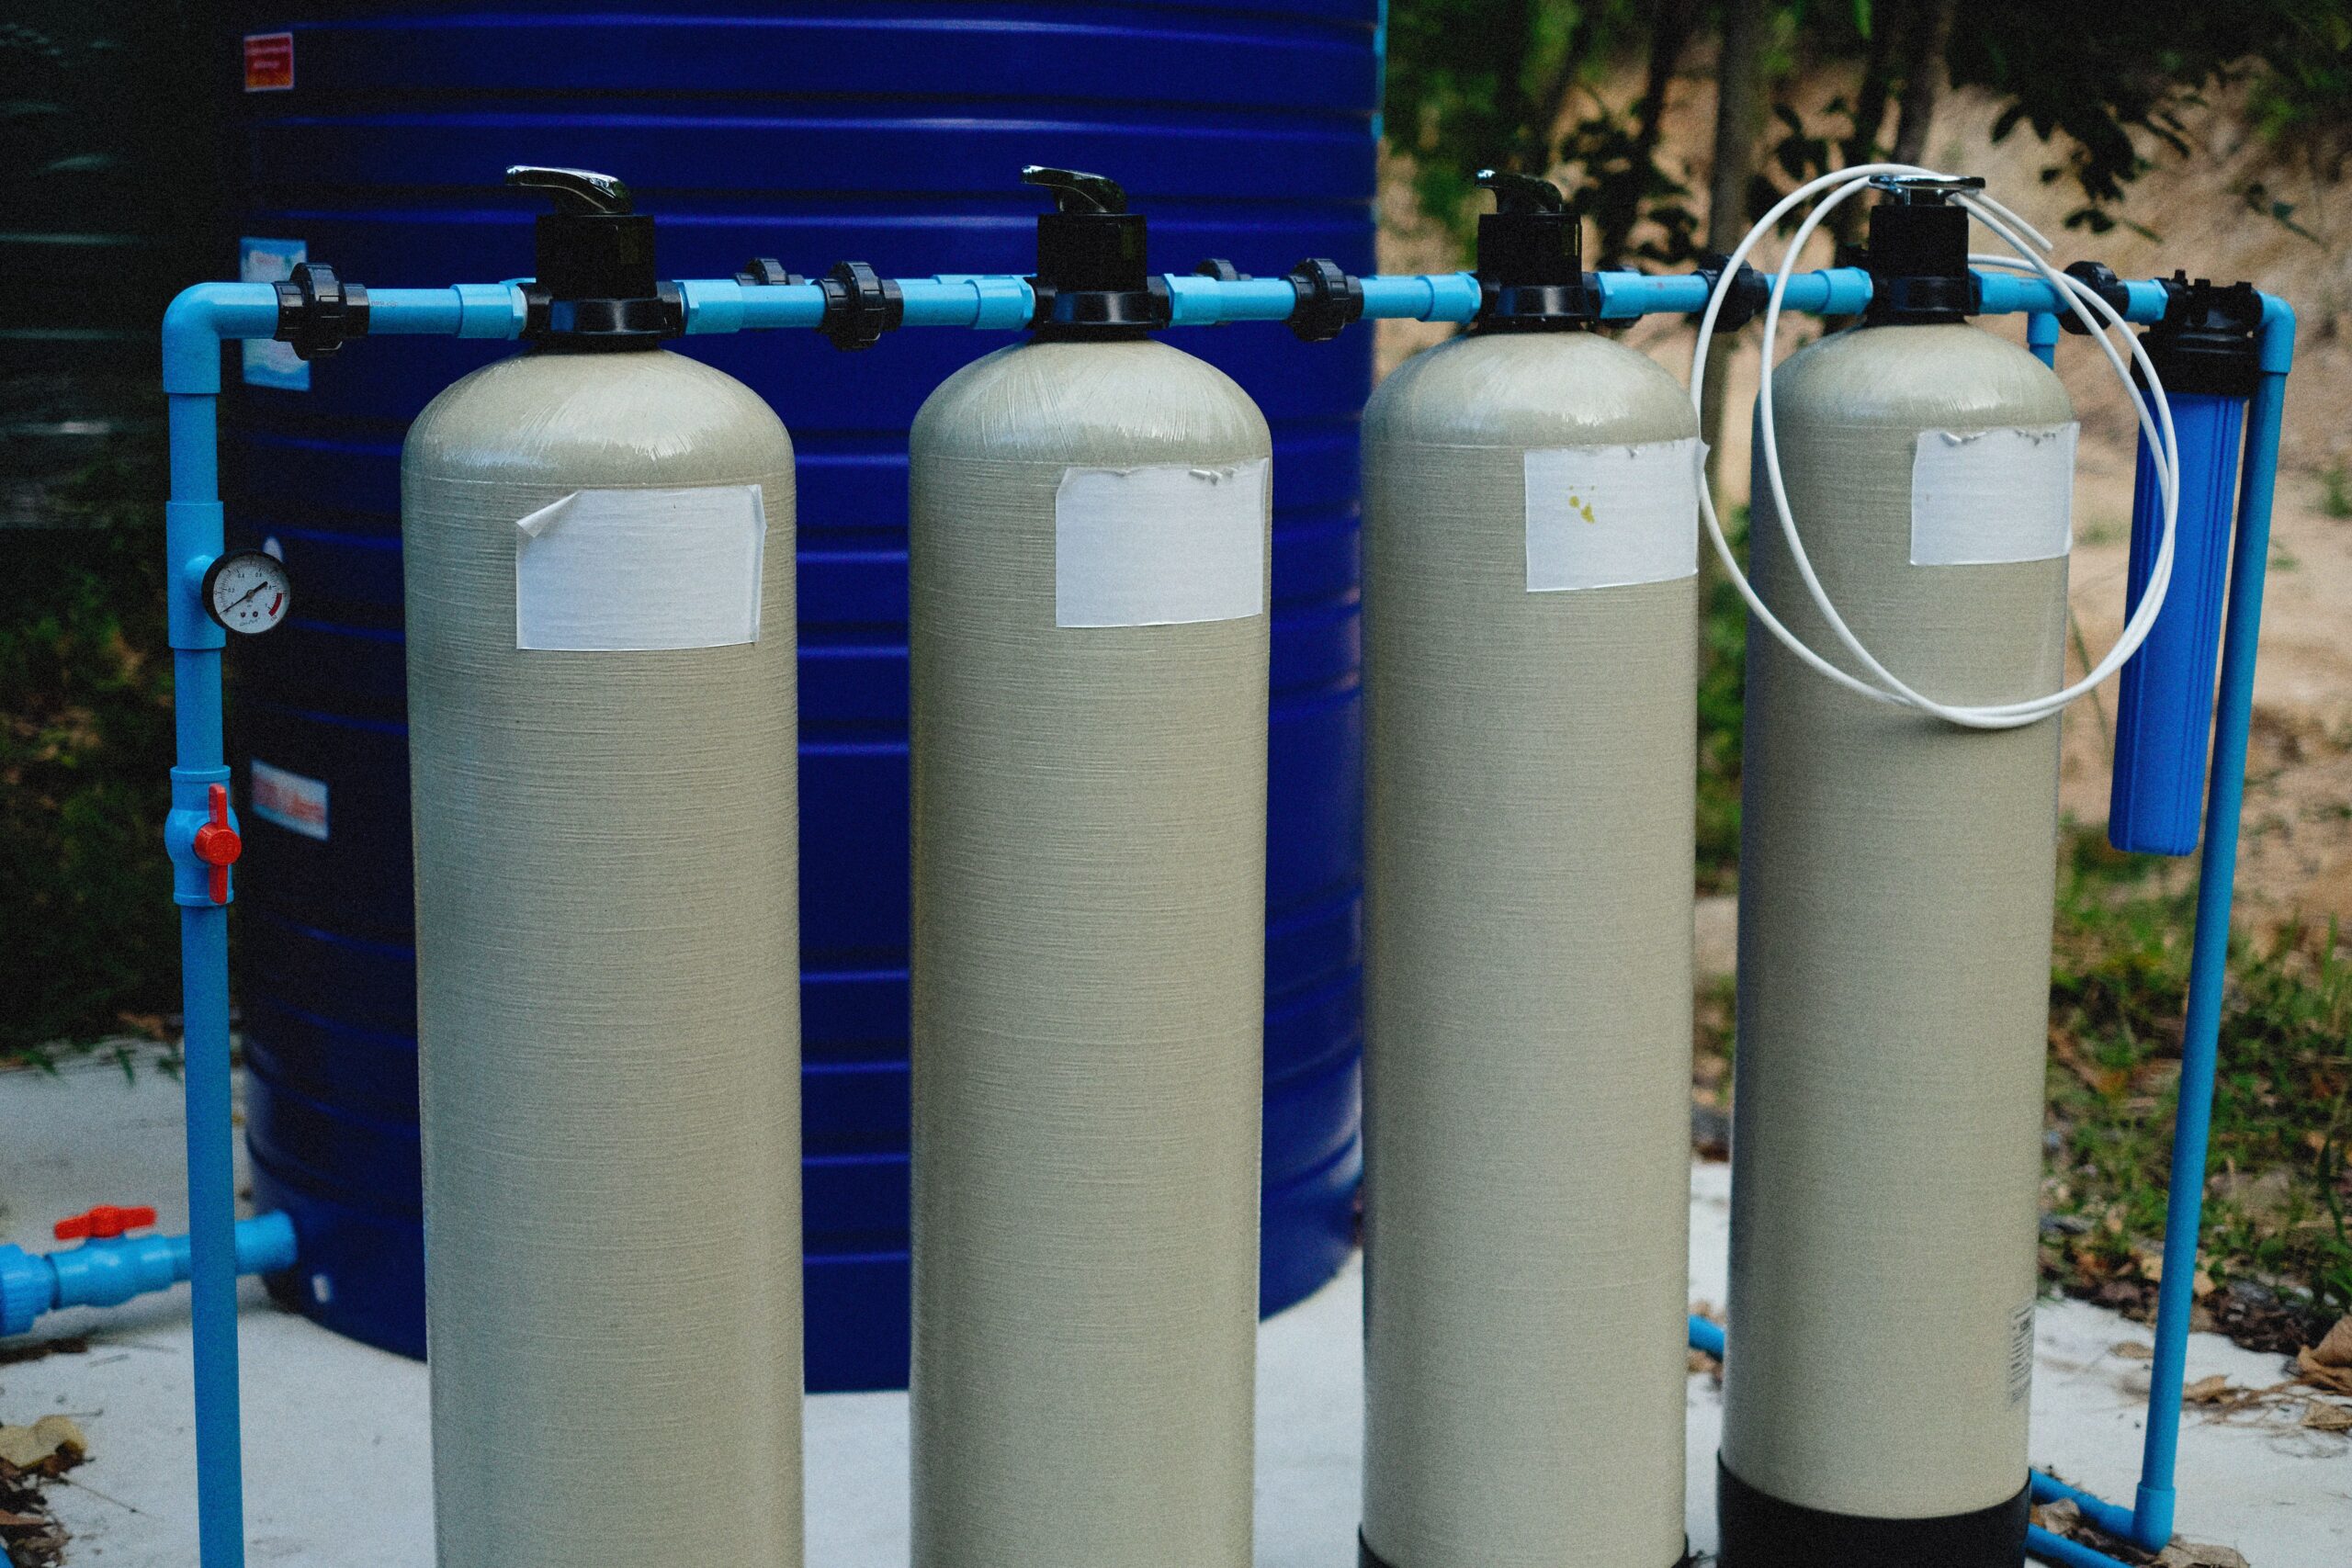
Drilling gets water out of the ground, but it does not guarantee pure taste or balance. Heavy minerals (hard water), iron, sulfur, or acidic pH levels require filtration units. A good water softener or iron filter adds $1,200 to $3,500.
3. Trenching Distance
The distance from your wellhead to your house matters. Drillers usually include a short baseline distance (like 30 feet) in their quote. If your well sits 150 feet away due to septic rules, extra trenching and piping will cost $5 to $15 per foot.
4. Dry Holes
This is every homeowner’s biggest fear. A driller might bore 300 feet down and hit no usable water. You still have to pay for the drilling labor and time, even if the hole is abandoned. Always ask your driller about their dry-hole policy or local success rates before starting.
Advanced Strategies: How to Save Money Without Sacrificing Quality
While you should never cut corners on essential safety or water testing, smart planning can lower your total project bill:
-
Ask Neighbors First: Before calling contractors, speak to neighbors with existing wells. Ask how deep their wells are and if they hit rock or bad water. This gives you realistic expectations before receiving your first bid.
-
Get 3 Written Estimates: Never accept the first bid. Gather detailed quotes from local drillers. Compare line items like casing thickness, pump brand, and warranty coverage.
-
Drill During Off-Peak Seasons: Well drillers are busiest during late spring and summer when construction spikes. Booking in late autumn or early winter can sometimes net you better rates or faster scheduling.
-
Bundle Trenching and Electrical Work: If you are building a new house, ask your primary excavation contractor to dig the well trench while they are already on site with heavy machinery. This costs far less than hiring a separate crew later.
Related Subtopics to Consider
When planning your well installation, take time to explore these related technical aspects:
-
Maintaining your water well pump to prevent early burnout
-
How to test well water for heavy metals, bacteria, and nitrates
-
Choosing between shallow vs deep well pumps for small properties
-
Understanding septic tank clearance distance regulations
-
Installing a solar powered well pump for off-grid living
When to Bring in Professional Help
Well drilling is not a DIY project. It requires massive machinery, local geological knowledge, and strict adherence to environmental health codes.
Working with a licensed, bonded, and insured well drilling contractor protects your investment and ensures your water is safe for drinking. At WillingToDo, we always encourage thorough research so you can communicate clearly with contractors, understand your estimates, and advocate for your property’s long-term health.
Look for contractors who:
-
Hold active state or local drilling licenses.
-
Provide transparent, itemized written quotes.
-
Have strong experience in your specific neighborhood.
-
Offer explicit warranties on pump equipment and installation labor.
Future Trends in Private Water Systems
The private water industry continues to evolve with smart technology and modern environmental standards:
-
Variable Frequency Drive (VFD) Pumps: Modern VFD pumps adjust their speed based on active household water demand. They reduce energy use and provide steady city-like water pressure.
-
Smart Water Monitoring: Sensor systems now monitor well water levels, flow rates, and pump stress straight from your smartphone, alerting you to problems before your pump breaks down.
-
Advanced Water Filtration: Compact, highly efficient multi-stage filtration systems are making it easier and cheaper to treat hard or mineral-heavy well water right at the point of entry.
Conclusion
Drilling a water well is a major investment, but it offers long-term benefits: total water independence, freedom from monthly city utility bills, and clean water tailored directly to your land.
While average costs sit between $5,500 and $9,000, taking time to understand your property’s soil, gathering multiple written quotes, and budgeting for filtration or trenching ensures your project runs smoothly without financial surprises.
Frequently Asked Questions
1. How long does it take to drill a water well?
The physical drilling process usually takes just 1 to 3 days. However, the full project—including permits, pump installation, trenching, and water quality testing—typically spans 1 to 2 weeks.
2. How deep do most residential wells need to be?
Most residential water wells run between 100 and 300 feet deep. In dry regions or mountainous terrain, depth can exceed 400 to 500 feet.
3. How long does a water well system last?
A high-quality drilled well can supply water for 30 to 50+ years. Submersible pumps and pressure tanks usually last between 10 and 15 years before needing replacement.
4. What happens if a driller hits a dry hole?
If drillers hit a dry hole, you are still responsible for paying the per-foot drilling labor costs. Drillers will then seal the dry hole according to local health codes and select a new site on your property.
5. Is well water really better than city water?
Well water is free of city water bills and chemical treatments like added chlorine. However, homeowners are entirely responsible for testing and filtering their own well water to maintain safe drinking quality.
6. Can I install a well pump myself?
Installing a well pump requires high-voltage electrical work, heavy lifting equipment, and precise plumbing connections. Hiring a qualified technician is strongly recommended to protect your safety and pump warranty.