
 Harriet Wetton
Building an A frame chicken coop is one of the smartest and most rewarding DIY projects you can take on as a backyard bird keeper. With its distinct triangular design, an A frame chicken coop gives your flock a dry, safe place to sleep upstairs while providing direct access to fresh grass and foraging ground below.
Many beginner chicken keepers feel completely overwhelmed when starting out. You might be worried about expensive hardware store lumber, predators sneaking in, or building something so heavy that it becomes impossible to move around your yard.
This comprehensive guide breaks down the process so anyone can construct a strong, predator-proof, mobile A frame coop with total confidence.
What Is an A Frame Chicken Coop and Why Build One?
An A frame chicken coop is a triangular shelter named after its unique shape, which resembles the capital letter A. It combines an elevated roosting box at the top with an enclosed run along the bottom.
Why It Matters for Backyard Keepers
-
Incredible Structural Stability: The natural geometry of a triangle makes this frame sturdy against high winds, snow, and heavy rain.
-
Cost-Effective Build: Requires significantly fewer framing studs and structural materials compared to traditional rectangular coops.
-
Built-in Run Space: Chickens get immediate ground access inside the protected perimeter without needing a separate standalone run.
-
Mobility: Often configured as a mobile tractor coop, allowing you to move it around your lawn to provide fresh foraging ground and clean soil.
How It Works: Step-by-Step Construction
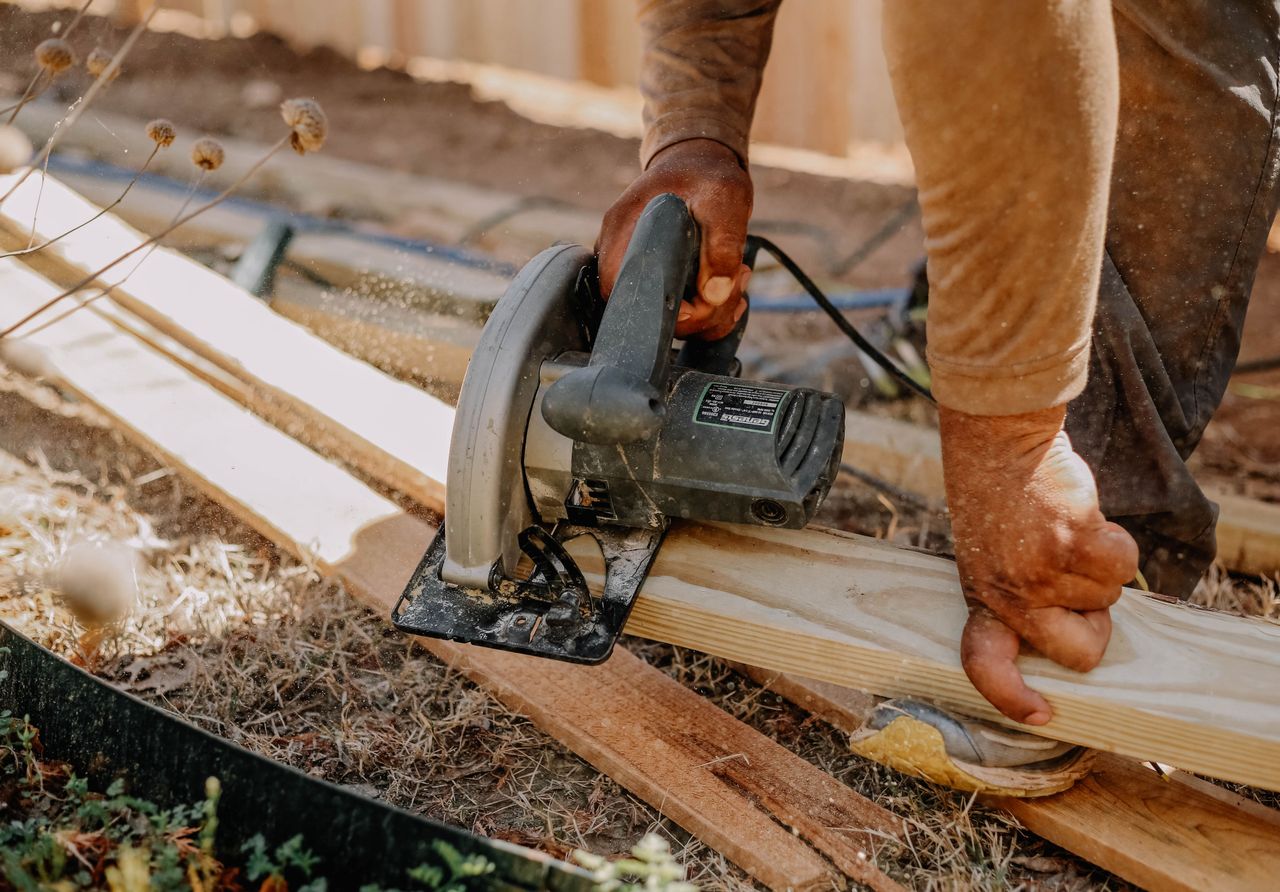
Before assembling materials, prepare a flat work site. Having a flat surface ensures your timber stays square during assembly. If you plan to add clear protective storm panels or lightweight windows to the upper housing area, taking time to learn how to cut acrylic sheet accurately will ensure a clean, draft-free fit.
1. Gather Tools and Materials
-
Pressure-treated 2×4 lumber for the ground base frame.
-
Standard untreated 2x4s or 2x3s for the upper roof framing and internal roosts.
-
Exterior-grade 1/2-inch plywood for siding and nesting box flooring.
-
Heavy-duty 1/2-inch hardware cloth wire mesh (do not use thin chicken wire, as predators can chew through it).
-
Corrosion-resistant wood screws, heavy-duty staples, metal corner brackets, and exterior latches.
2. Assemble the Base and Triangle Frames
-
Construct a flat rectangular base using pressure-treated 2x4s (a classic size is 4 feet wide by 8 feet long). Secure corner joints with pocket screws or galvanised angle brackets.
-
Cut six equal lengths of timber to form three A-frame rafters. Miter the top ends at 30 degrees so they join tightly at the peak.
-
Attach one triangle frame at the front, one in the middle, and one at the back of your rectangular base using wood screws.
-
Fasten horizontal cross-beams across the center of the triangles to support the elevated floor and reinforce the structure.
3. Build the Upper Coop Floor and Nesting Area
-
Cut your 1/2-inch exterior plywood to fit the mid-level horizontal cross-beams.
-
Install a drop-down access door or hinged hatch on the side panel for quick egg collection and easy coop cleanout.
-
Secure smooth, rounded roosting bars at least 8 to 12 inches above the plywood floor, giving birds a safe perching spot.
4. Enclose with Mesh and Roofing Materials
-
Cover the bottom section securely with 1/2-inch hardware cloth, using heavy-duty staples or screws with fender washers every 4 inches.
-
Install plywood or corrugated metal roofing along the upper portion to keep rain out.
-
Add a hinged wooden door at the front or side to provide access to the ground run area.
Real-Life Example: Building a Mobile Coop
Sarah, a suburban homestead enthusiast in Ohio. She needed a home for 4 laying hens but had limited yard space. Built-in coops felt too permanent, and premade options were outside her budget.
Sarah spent $180 on lumber, hardware cloth, and screws. Over one weekend, she assembled a lightweight 4×8-foot A frame chicken coop. By adding two 6-inch lawnmower wheels to the back frame and folding handles to the front, she converted the build into an easy-to-pull chicken tractor.
Now, Sarah easily rolls the coop to new spots on her lawn every three days. Her hens enjoy fresh bugs and clean grass continuously, while Sarah enjoys natural lawn fertilization and fresh eggs every morning without any messy ground buildup.
Common Mistakes to Avoid
-
Using Standard Hexagonal Chicken Wire: Hexagonal poultry netting keeps chickens inside, but it will not stop raccoons, dogs, or foxes from ripping through. Always use 1/2-inch welded hardware cloth.
-
Forgetting Proper Ventilation: Tight, unventilated spaces trap moisture and ammonia from chicken manure, causing severe respiratory issues. Always leave covered ventilation gaps near the roof peak.
-
Overcrowding the Coop Space: Standard A frame designs work best for small flocks (3 to 5 birds). Pushing too many birds into a tight space leads to feather pecking and aggressive behavior.
-
Neglecting Ground Predator Barriers: Raccoons and rodents burrow under base frames easily. Fasten a 12-inch wire mesh apron around the bottom perimeter or place the frame on hard ground.
-
Ignoring Overhead Hazards: Placing your coop directly under aging trees can lead to crushing risks during heavy storms, so reviewing the benefits of maintaining trees on property helps ensure your site selection stays safe over time.
Advanced Strategies for Better Performance
-
Install a Wire Mesh Perimeter Apron: Lay an 12-to-18-inch strip of hardware cloth flat along the ground around the outside of the coop base. Vegetation grows right through it, hiding the wire while stopping digging predators completely.
-
Attach Heavy-Duty Wheels: Mount lawn tractor or solid rubber wheels on a simple lever mechanism at the rear frame to easily move your coop around without heavy lifting.
-
Add Removable Dropping Trays: Place a smooth plastic or metal tray underneath the roosting bars inside the upper housing box. Slide it out weekly for rapid cleaning and manure composting.
Related Subtopics for Homestead Maintenance
When planning your coop’s location in the yard, consider how natural elements like wind, sunlight, and surrounding predators will affect your birds. Setting up shelter near a natural windbreak or learning planting and raising trees for maximum growth can provide your flock with essential shade in summer and protection from cold gusts in winter.
When to Get Expert Help
Building your own coop is usually a simple weekend project, but consulting a professional carpenter or local builder makes sense if:
-
You plan to build a massive frame larger than 8×12 feet requiring complex load-bearing timber framing.
-
Local HOA guidelines or municipal building codes require certified blueprints or official construction permits.
-
You need customized automatic doors, solar-powered lighting, or integrated electrical setups installed safely.
Future Trends in Backyard Poultry Housing
-
Automated Solar Doors: Modern coop designs increasingly feature light-sensitive, solar-powered door openers that keep flocks safe at dusk automatically.
-
Modular A Frame Designs: Modern builders create lightweight, snap-together composite frames that resist rot and offer better insulation against extreme weather.
-
Eco-Friendly Upcycled Materials: High-efficiency builds utilize reclaimed pallet wood, recycled poly roofing sheets, and lightweight non-toxic composite materials to reduce environmental impact.
Conclusion
Building an A frame chicken coop gives your flock a safe, comfortable home while keeping your homestead neat and functional. With basic tools, quality timber, and reliable hardware cloth, you can complete this project over a single weekend. Take it step-by-step, prioritize predator protection, and enjoy fresh eggs from your happy backyard flock.
Frequently Asked Questions
How many chickens fit inside a 4×8 A frame chicken coop?
A standard 4×8-foot A frame coop comfortably houses 3 to 4 standard-sized hens or up to 6 bantam chickens.
Do A frame chicken coops need insulation?
In mild climates, insulation is unnecessary. In sub-zero winter regions, adding removable foam insulation boards inside the upper roosting box helps retain body heat.
What is the best wood for an A frame coop base?
Use pressure-treated lumber for the bottom ground base frame to resist moisture and rot, and standard untreated timber for the upper elevated framing.
How do I clean an A frame chicken coop efficiently?
Design your upper roosting chamber with a wide hinged side panel door and a removable dropping tray beneath the roost bars for simple weekly scraping.
How do I prevent predators from digging underneath my coop?
Attach an 12-to-18-inch hardware cloth mesh apron flat along the ground around the outside base of your coop.