
 Harriet Wetton

Clocks are more than simple tools for keeping time. A classic mechanical clock carries warmth, history, and a gentle ticking rhythm that makes a house feel like a home.
Whether you inherited an antique mantle clock from a relative, bought a beautiful grandfather clock at an estate sale, or simply want to keep a vintage wall clock ticking smoothly, learning how to wind a clock correctly is an essential skill.
Many people feel nervous when they approach a mechanical timepiece for the first time. The fear of breaking a delicate spring, applying too much pressure, or overwinding the mechanism causes many owners to let their clocks sit completely still.
You do not need to be a professional watchmaker to care for your clock. With a little guidance and a clear understanding of how these mechanical systems operate, you can keep your clock running accurately for decades.
At WillingToDo, we focus on actionable, real-world guidance that empowers you to care for your home and personal items with confidence. This master guide will walk you through everything you need to know about winding mechanical clocks safely and effectively.
What Is a Mechanical Clock and How Does It Keep Time?
To wind a clock safely, it helps to understand what happens inside the wooden case when you turn the key or pull the chain. Unlike modern digital or quartz clocks powered by small batteries, a mechanical clock operates entirely on stored kinetic energy.
The Power Source: Springs vs. Weights
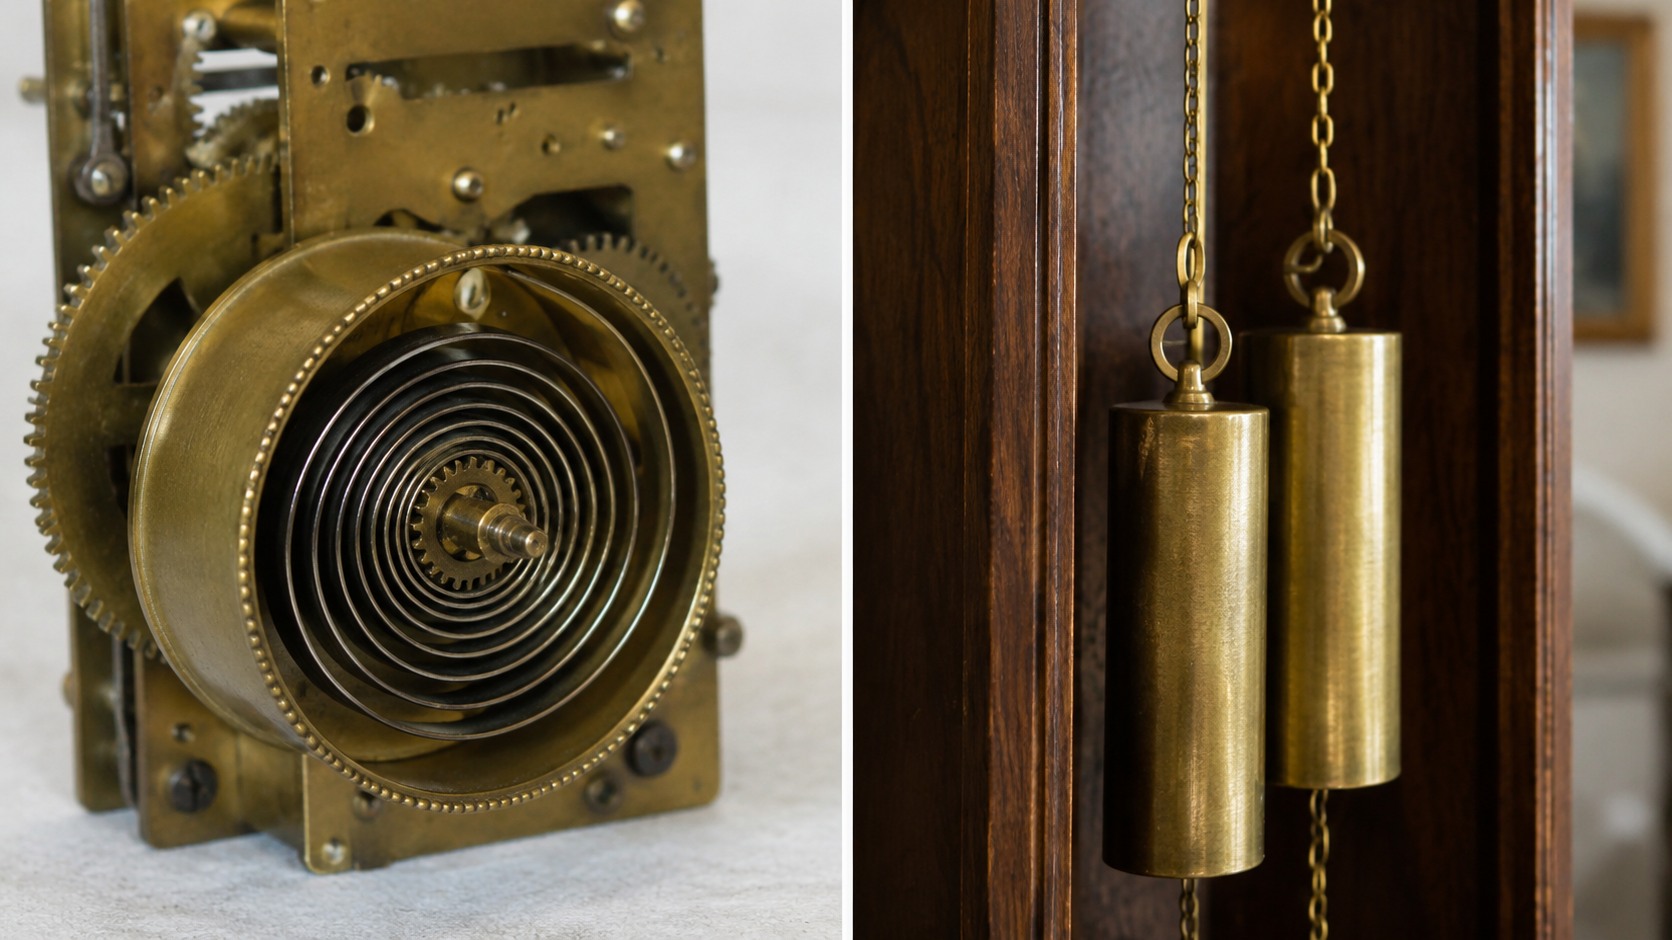
Every mechanical timepiece relies on stored mechanical energy to drive its gears. That energy comes from 1 of 2 sources:
-
Spring-Driven Movements: These clocks use coiled steel mainsprings enclosed inside brass cylinders called barrels. When you insert a key and turn it, you tighten the coil. As the spring slowly unwinds over 8 days or 30 days, it releases energy to turn the gears.
-
Weight-Driven Movements: These clocks use heavy brass or iron weights suspended by cloth cords, cables, or metal chains. When you pull the chain or use a crank to raise the weights toward the top of the case, you store gravitational potential energy. As gravity pulls the weights downward, they turn the drive wheels.
The Brain: Escapement and Pendulum
Storing energy is only half the job. If the mainspring unwound all at once, or if the weights fell freely to the floor, the hands would spin wildly and the clock would run down in seconds.
The escapement regulates that energy. It acts as a brake that releases a precise micro-burst of power at exact intervals.
The pendulum swings back and forth, controlling how fast the escapement unlocks. That familiar ticking sound is the escape wheel striking the pallet arms with every single swing.
What Tools Do You Need to Wind a Clock?
Winding a clock requires very few tools, but using the correct items is vital to prevent accidental damage.
1. Clock Winding Key or Crank
Spring-driven clocks require a double-ended or single-ended clock winding key. The key fits onto 1, 2, or 3 winding arbors accessible through holes on the dial face. Weight-driven tallcase clocks usually come with a crank handle that fits a central winding drum.
Using an incorrect key size will round off the square edges of the winding arbor. If the key is too loose, it slips under pressure and can scratch your clock face or strip the metal shaft.
2. Cotton Gloves
Natural oils and sweat on human fingers transfer acid onto polished brass, gold-leaf hands, and silver dials. Wearing clean, lint-free cotton gloves prevents tarnishing whenever you open the clock door or touch the pendulum.
How to Wind a Clock Step-by-Step

Follow these simple, practical steps to wind your mechanical timepiece safely.
Step 1: Identify Your Clock Type and Winding Points
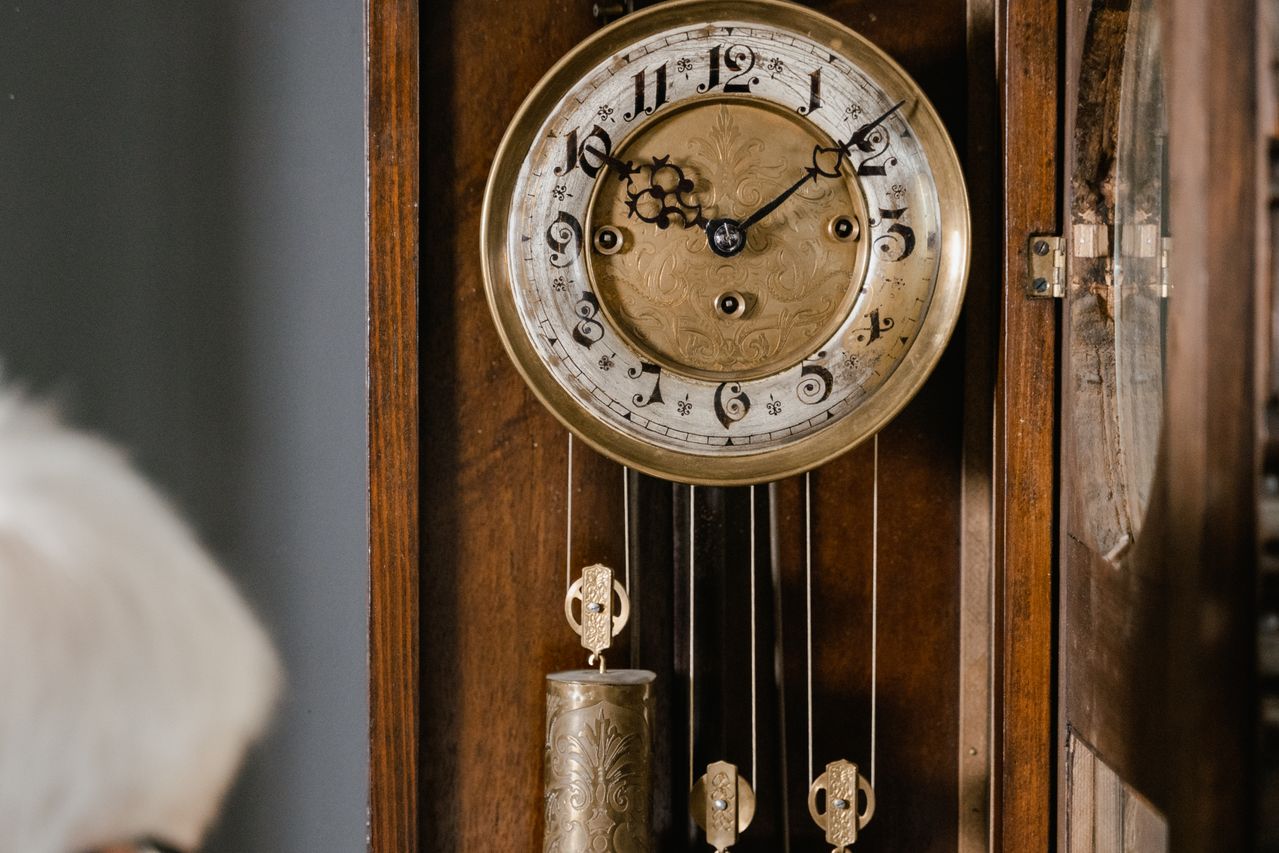
Open the glass front door of the clock case. Look at the clock dial to identify the winding arbors. These are square metal pins located inside small circular cutouts on the dial face.
-
1 Winding Hole: The clock keeps time only.
-
2 Winding Holes: The clock keeps time and strikes the hour or half-hour on a gong or wire bell.
-
3 Winding Holes: The clock keeps time, strikes the hour, and plays a musical chime sequence such as Westminster, Whittington, or St. Michael.
If your clock uses hanging weights on exposed chains, look below the movement to see if the chains run through pulleys.
Step 2: Select the Correct Key Size
If you bought a secondhand clock without a key, measure the square arbor with a digital caliper or a key sizing gauge. Key sizes range from size 000 up to size 16. The key square must slide smoothly onto the shaft without wobbling or sticking.
Step 3: Wind the Timekeeping Winding Point
Insert the key firmly into the main timekeeping arbor. Hold the body of the clock steady with your non-dominant hand so the clock does not tilt on the table or wall.
Turn the key smoothly in a clockwise direction. On some antique clocks, 1 side winds clockwise while another winds counterclockwise. If you feel extreme resistance immediately, gently turn the key the opposite way.
Turn the key until you feel firm, solid resistance. Stop turning as soon as you meet that firm stop point. You do not need to force the key further.
Step 4: Wind the Strike and Chime Points
If your clock has 2 or 3 winding holes, insert the key into each remaining arbor and repeat the winding motion. Always wind all arbors during your weekly routine so all springs maintain consistent tension.
Step 5: How to Wind a Weight-Driven Clock
For clocks with weight chains, pull the unweighted side of the chain straight down with a steady motion. Support the rising weight slightly with your hand to prevent the chain from slipping off the internal gear teeth.
For cable and pulley clocks, insert the winding crank into the arbor on the dial and turn clockwise until the weight reaches approximately 2 inches below the wooden board at the top of the case. Leaving that 2-inch gap prevents jamming the cable against the pulley housing.
What If You Do Not Have a Key?

Losing a clock key is a common problem when moving homes or purchasing vintage timepieces. If you need to know how to wind a wall clock without a key, you should avoid using standard household pliers or adjustable wrenches. Pliers crush the soft brass arbor and strip the square corners, causing permanent damage.
The safest temporary solution is to purchase a universal star key set online or visit a local horologist. A universal clock key features 5 to 8 different arm sizes radiating from a central hub, ensuring you find an exact fit for your arbor.
Real Life Example: Restoring an 8-Day Mantle Clock
Consider the experience of Sarah, a homeowner who inherited a 1920s German mantle clock from her grandfather. The clock had sat silent on a bookshelf for over 15 years.
When Sarah tried winding it, the key felt stuck after 2 turns. Fearing she would overwind the clock, she stopped. She opened the back door of the case and noticed the mainspring coils were coated in dry, gummy yellow oil.
Instead of forcing the key, Sarah took the clock to a professional for a basic clean and re-oiling service. Once the old grease was washed away, the key turned smoothly for 14 full rotations. Today, Sarah winds her grandfather clock every Sunday morning. That quick weekly habit keeps the clock running accurately within 1 minute per week.
Common Mistakes to Avoid When Winding a Clock
Even cautious clock owners can make simple mistakes that hurt the movement. Avoid these frequent errors to protect your clock mechanism:
-
Forcing a Stiff Winding Arbor: Never force the key if it refuses to turn. A stuck key usually indicates dry oil, a jammed gear tooth, or a fully wound spring that needs repair.
-
Letting Chains Slip: Pulling weight chains too quickly can derail the links from the internal sprocket, causing the weight to drop sharply.
-
Ignoring Case Leveling: Mechanical clocks with pendulums must sit completely level on the table or wall. If the clock leans forward or sideways, the pendulum will catch on the case and stop ticking.
-
Failing to Establish a Regular Schedule: Wind 8-day clocks once every 7 days on the same day each week. This practice keeps the mainspring operating within its optimal power range.
Myth vs. Reality: Is Overwinding a Clock Real?
The phrase “overwinding a clock” is 1 of the most widespread myths in home care. People often assume that turning the key 1 time too many breaks the spring or locks the mechanism permanently.
The Truth About Fully Wound Clocks
You cannot break a steel mainspring using normal hand pressure on a proper-sized key. When a spring reaches full capacity, the key simply stops turning naturally.
When a clock owner says their clock is overwound and will not run, the issue is almost never the spring tightness. The real problem is usually 1 of the following issues:
| Problem | Explanation | Solution |
| Dirty or Dried Oil | Old oil hardens into a sticky paste that locks the gear teeth when spring tension is high. | Professional cleaning and fresh synthetic clock oil. |
| Out-of-Beat Movement | The clock sits unevenly, causing uneven tick-tock spacing. | Level the clock case until the ticks sound perfectly rhythmic. |
| Bent Hands | The minute hand is catching against the hour hand or glass crystal. | Gently bend the thin metal hand outward to create clearance. |
Advanced Strategies for Precision Timekeeping
Once you master basic winding, you can fine-tune your clock to keep exact time over long periods.
How to Adjust the Pendulum Speed
If your clock runs too fast or too slow, you can adjust the pendulum rate using the small rating nut located at the bottom of the pendulum bob.
-
Clock Runs Fast: The pendulum is swinging too quickly. Turn the bottom nut counterclockwise to lower the heavy bob. A lower center of gravity slows the swing.
-
Clock Runs Slow: The pendulum is swinging too slowly. Turn the rating nut clockwise to raise the bob. A higher center of gravity speeds up the swing.
Make small adjustments of 1 full turn at a time. Monitor the clock accuracy over 24 hours before making another adjustment.
Clock Running Fast
-
Turn the rating nut counterclockwise
-
Lower the pendulum bob
-
Slower ticking rate
Clock Running Slow
-
Turn the rating nut clockwise
-
Raise the pendulum bob
-
Faster ticking rate
Understanding Clock Maintenance and Related Subtopics
Proper winding is only 1 part of long-term clock care. To keep your timepieces functioning for generations, you should familiarize yourself with these related care topics:
-
Leveling a Pendulum Clock Case: Learn how to set the beat so the tick and tock sounds are identical in duration.
-
Oil Application Techniques: Understand where to apply specialized synthetic lubricants to brass bushings every 3 to 5 years.
-
Pendulum Bob Calibration: Master micro-adjustments for regulating precision regulators and grandfather clocks.
-
Replacing Broken Mainsprings: Learn the safety precautions required when replacing damaged mainsprings housed inside barrels.
-
Storing Antique Clocks Safely: Discover how to unhook weights and lock pendulums safely before packing or moving a clock across town.
When to Seek Professional Horological Help
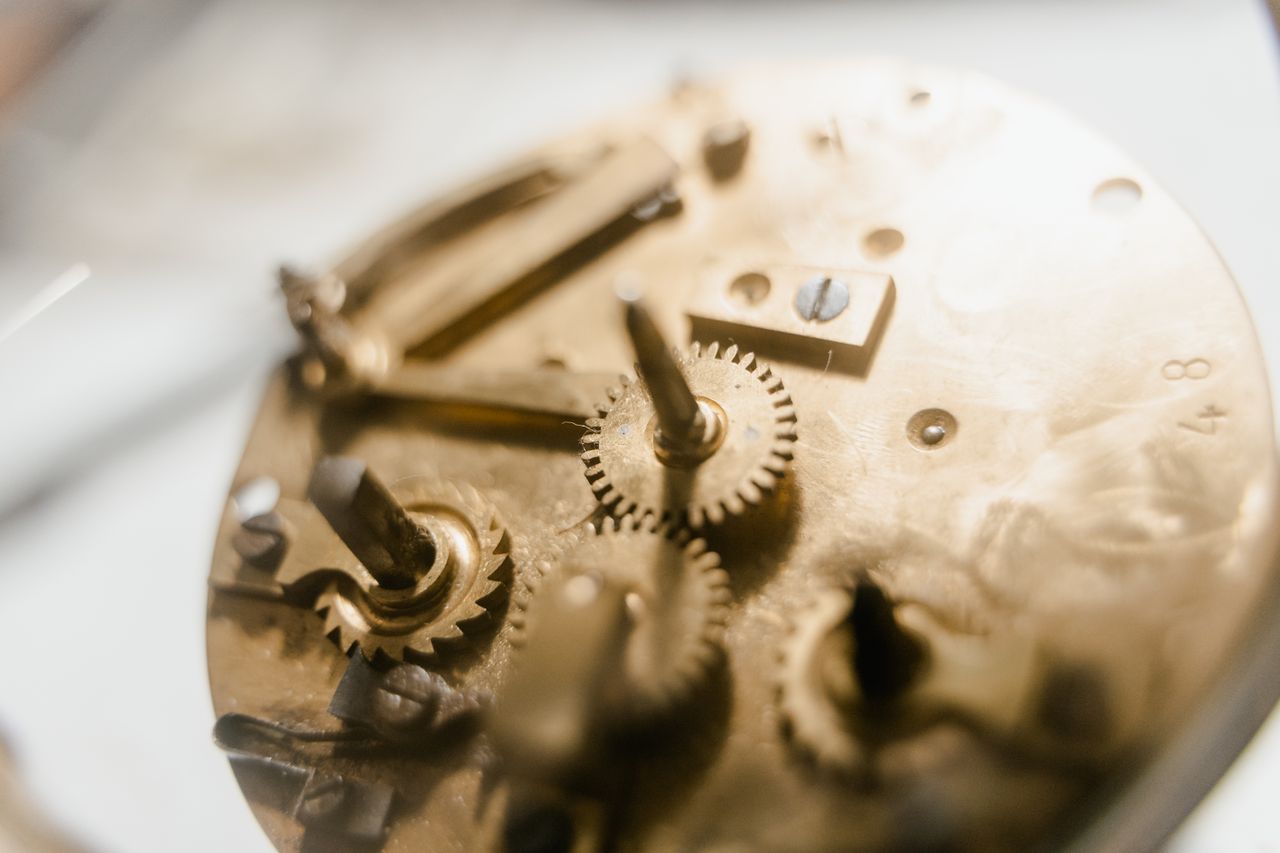
While routine winding and basic leveling are easy to do at home, certain mechanical issues require professional attention. Contact a qualified clock repair shop if you encounter any of the following symptoms:
-
The key turns infinitely without building spring tension, indicating a snapped mainspring or broken arbor click spring.
-
The weights drop straight to the bottom of the cabinet without turning the hands.
-
The clock stops running after 5 to 10 minutes even though the spring is fully wound and the case is level.
-
You hear a loud screeching or grinding sound while turning the key or crank.
Professional horologists have specialized ultrasonic tanks, bushing tools, and pivot lathes to repair worn brass plates safely without destroying historical value.
The Future of Mechanical Clocks in a Digital World
In an age dominated by smartphones, smartwatches, and digital screens, traditional mechanical clocks remain remarkably popular. People value mechanical timepieces because they bring tangible craftsmanship, sustainability, and mindful routine into daily life.
Winding a clock every week offers a quiet moment of focus and connection with history. Mechanical clocks require no internet connections, microchips, or disposable lithium batteries.
With basic care, periodic oiling, and proper winding techniques, a quality mechanical clock can reliably serve your family for generations.
Conclusion
Winding a clock is a rewarding, simple habit that protects a valuable piece of mechanical history. By selecting the correct key, turning smoothly until you feel natural resistance, and maintaining a regular weekly routine, you keep your timepiece running accurately without risking damage.
Respect the mechanism, listen to the rhythmic tick-tock, and enjoy the lasting beauty of your mechanical clock.
Frequently Asked Questions
How often should I wind my mechanical clock?
Most mechanical clocks are designed as 8-day movements, meaning they run for 8 full days on a single winding. To ensure consistent power and timekeeping accuracy, wind your clock once every 7 days on a set schedule.
Can I wind my clock counterclockwise?
The winding direction depends on the specific movement design. While many arbors turn clockwise, some chime arbors turn counterclockwise. Turn the key gently in the direction that offers smooth engagement without forcing the movement.
Why did my clock stop running after I wound it?
If your clock stops after winding, check that the case sits level on the table or wall. An uneven stance disrupts the pendulum beat. Sticky, dried-up lubricant can also cause a fully wound spring to stall.
How do I set the correct time on a chime clock?
To move the time forward, rotate the long minute hand clockwise. Stop at every quarter-hour or hour mark to allow the chime sequence to finish playing before advancing the hand to the next position.
Do I need to remove the pendulum before winding?
You do not need to remove the pendulum for regular winding. However, hold the clock body steady with your free hand so the cabinet does not sway or shift while turning the key.